By integrating your email account you can send emails direct from ProspectSafari by simply clicking a contact’s email address. Within the send email popup you can then include shortcodes within the email body or alternatively select a template to send. You can also enrol the contact in a Sequence.
To integrate your email you simply need to setup the SMTP username and password. You can add different signatures to be used and manage your various “send as” email addresses.
The first step is to connect your email by adding the SMTP coordinates. In Integrations, click to connect your email and add a set of SMTP coordinates. You will see this popup:
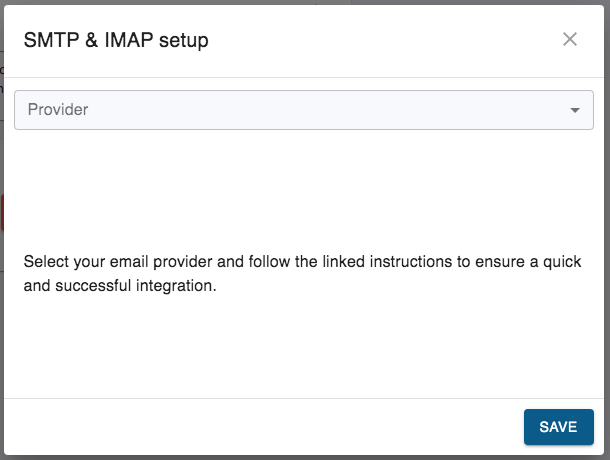
Choose your email provider and enter the required information. You may have to do some preparation first however as shown below.
– Gmail
First, you must setup 2-Step Verification on your Google account. Do this is the Security section of your Google account (go here).
When 2-Step Verification is ON, go to: https://myaccount.google.com/apppasswords
You will see the following screen (once you have created an app password it will be listed as shown below) and you should click on “Select app” :
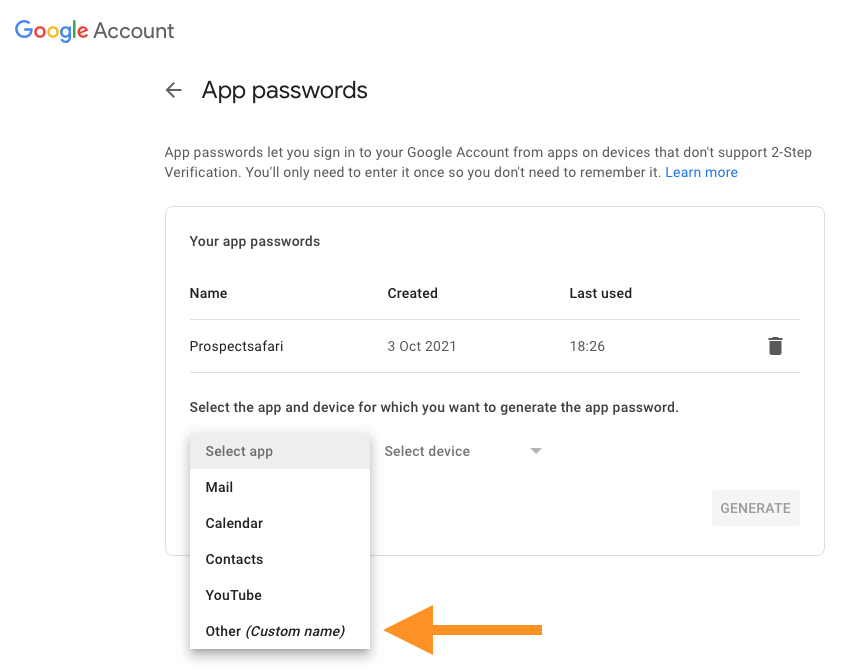
Select “other” and type in “ProspectSafari” and click the Generate button. Copy the app password and paste it into the ProspectSafari SMTP & IMAP setup form, together with your gmail account address:
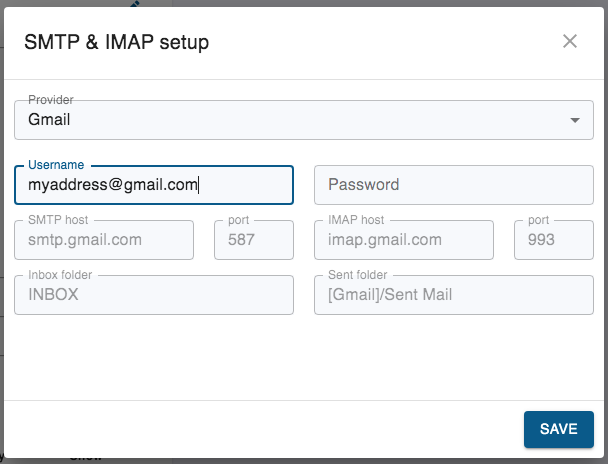
Enter your gmail address as username and the newly created App Password (do NOT enter your actual google account password).
The following variables are already set:
- SMTP host: smtp.gmail.com
- SMTP port: 587
- IMAP host: imap.gmail.com
- IMAP port: 993
- Inbox folder: INBOX
- Sent folder: [Gmail]/Sent Mail
Your gmail account should now be integrated.
NB if you change your google account password, you will need to generate a new app password for ProspectSafari and enter this new password as above.
– Outlook
For most users, simply click the Connect button and the integration is done automatically, using the Microsoft Graph API.
If for any reason you need to use Authenticated SMTP to connect your Microsoft 365 account, follow the instructions below.
Enter your full outlook.com address as username and your outlook.com password (or a specifically created App Password – see below). The following variables should also be entered:
- SMTP host: smtp.office365.com
- SMTP port: 587
- IMAP host: outlook.office365.com
- IMAP port: 993
- Inbox folder: Inbox
- Sent folder: Outbox
It is possible that your Exchange Online administrator will need to enable Authenticated SMTP on the specific mailbox(es) that you wish to link to, using the Microsoft 365 Admin Center. Specifically;
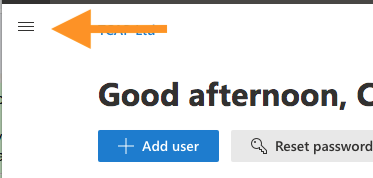
- Open Microsoft 365 Admin Center.
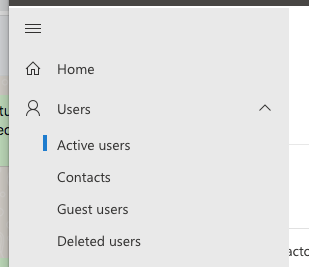
- In the menu at top left, Select Users
3. Under Users, select Active Users
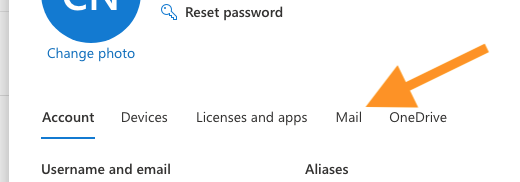
4. Choose the relevant user and select Mail
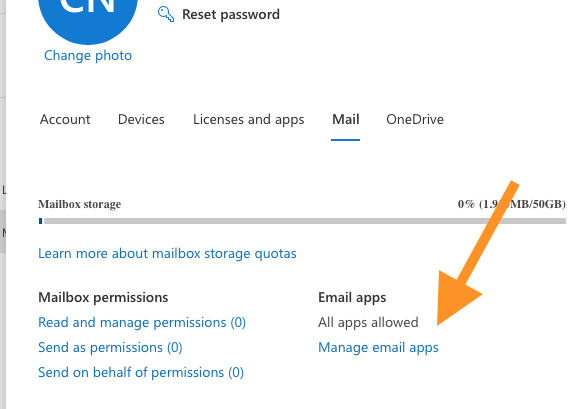
5. Select Manage Mail Apps
6. Ensure that both IMAP and Authenticated SMTP are selected
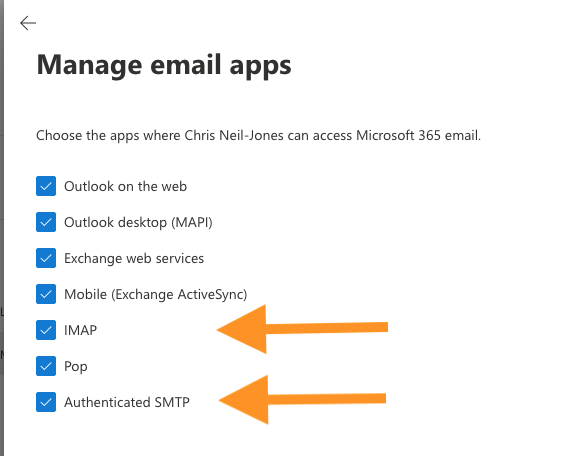
7. Repeat steps 4-6 for each user
– Generic
Check with your email administrator to find the SMTP and IMAP host details.
Email Addresses
Here you can add all the “send as” email addresses from your integrated email account that you wish to use to send mail from ProspectSafari. If you only have one “send as” account set up then that should be entered here. Click on the add (+) icon in Email Addresses and you will see this popup:
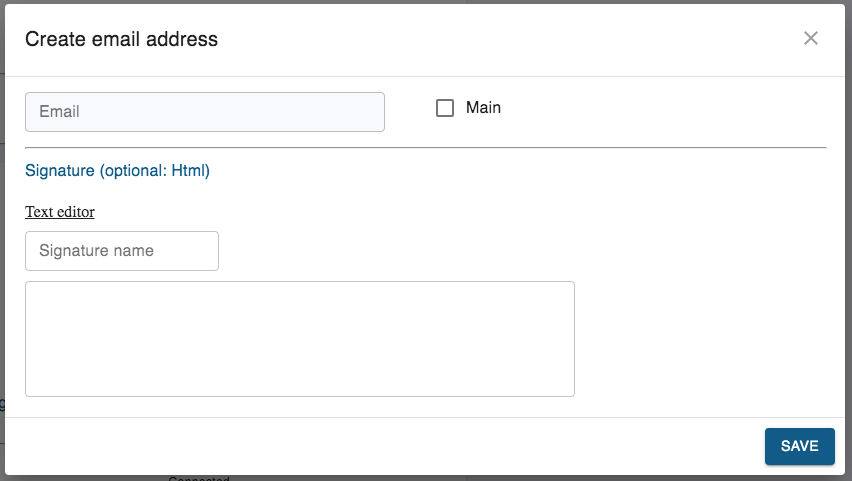
The Main address is the default. Add a signature (see below).
Now when you click the email address of any Contact the send email popup will open. You will be able to choose any of these “send as” addresses and the signature will be automatically appended when it is sent via your connected email account. The text of the email will be added in the timeline.
Email Signatures
You can use the text editor to compose a signature, or use the default which is to paste in some html code. When you paste in the html, the end result is displayed beneath.
You can use some external design app to generate the html code, or you can copy it from the body of one of your emails using a web.app (gmail for example). This is the most common requirement but is also a little tricky to get to the required html code. Follow these steps:
- Send the email containing the signature to a gmail account.
- Open this gmail account using the Chrome browser.
- In gmail, right-click on an open email showing the desired signature.
- Select Inspect.
- The Inspect window will open, showing “Elements” in the top bar.
- Scoll up & down the text in this Inspect window. As you hover over each line, a block of the email will be highlighted.
- Find the <div line which highlights all of the signature block but nothing else.
- If necessary (for instance if email body text is highlighted together with the signature), click the little arrow icon at the start of the line to expand the section.
- When you have found the target <div, right-click and select Copy / Copy Element.
- Goto the ProspectSafari Email Signature (html) box, right-click, Paste.
- The signature should appear underneath this box.
- Give the signature a name and Save.
Email bcc
In Workspace Settings you can set a bcc address to apply to all emails sent by any user in the workspace. This can be useful to log emails on an external CRM for example (not necesary for the Hubspot Integration).
Email Labels
ProspectSafari will regularly check the inbox and sent box of your connected email account.
Any and all emails to or from any contact in your ProspectSafari workspace will be copied and added to your ProspectSafari timeline. Older emails sent or received before your email was connected or the contact email was added will not appear in the timeline.
In addition, emails added to the timeline will also be tagged with a label in your email account so that you can filter your mailbox as you see fit.
Here you can define the labels that are to be used and the behaviour of your email account.
If “Only” is selected then the relevant email will only appear in the separate labeled inbox / sent folder and not also in the general inbox / sent folder.
If “Show” is selected the label is inserted next to the subject line in the list view of emails in your email program.