You can add Tasks for yourself or others in your team, related to any contact. Tasks can be to make a call, send an email, perform some research or anything else that needs action. Tasks are assigned a due date, priority and a queue.
Queue mode is a way to see a priority-ordered list of all your Tasks in any particular queue and to work through them methodically and efficiently. It is particularly useful when working through a call queue for example.
To create a Task, double click on the Task icon in the activities column or click on the menu icon next to any contact:

Select Task. The Create Task popup will appear:
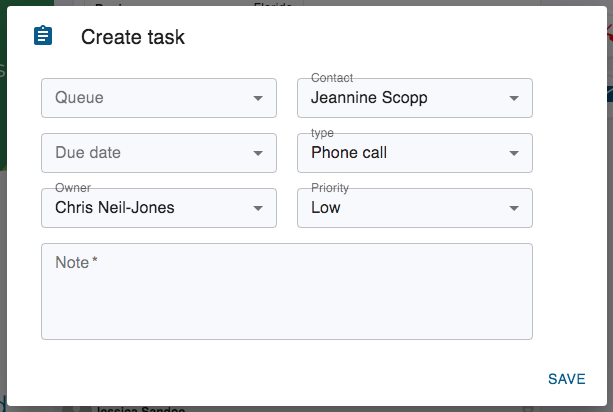
Select the queue for the task. You can also create a new queue if you wish: select New in the Queue drop-down and add the name of the Queue. This Queue will now appear as an option for all future Tasks.
Set the due date, type of task and priority. You can assign the task to anyone else in your team, but the default is to assign it to yourself. Write a note to explain what the Task is about. Select Save.
You will now see this Task listed in the activities column on the right. Clicking the task allows you to edit it or mark it as completed. If the Task is a phone call then you will be prompted to complete a phone log on completion of the Task.
You can also see this Task in its respective Queue by clicking the Tasks button

You will see a list of your Tasks in the chosen Queue. You can also create a filter to select certain tasks and order them in any particular way, and save this filter. These saved filters appear by clicking the Saved Filters button:

You will see a list of saved filters. These can be to display a list of prospects, emails, call logs or tasks. Some example filters have pre-prepared, and the most important one is the Calls Today task filter:
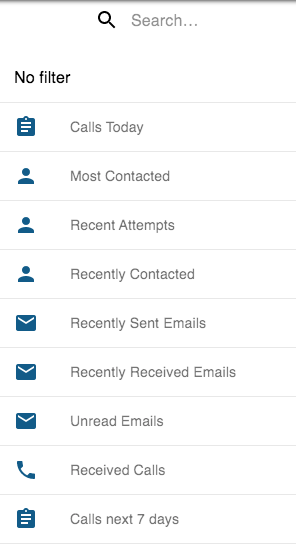
Calls Today for example, filters all Tasks to show Call Tasks scheduled no later than today and sorted on the Line Connection Index (LCI) score. By executing these call tasks in this order, your cold-calling productivity will typically double. See the Call Manager article for further details.
The Saved Filter can be applied to a selected List or Queue or to all prospects & tasks. The name of the filter is displayed with the selected list or queue in brackets.
Click the VIEW button. This allows you to work through the task queue completing or skipping each task. If there are multiple tasks for a single company then each task is presented before moving on to the next company in the task queue (the number in the navigation bar refers to the number of companies in the Queue, not the number of Tasks).
Click the COMPLETE button in the Queue Bar at the bottom of the screen. This will bring up the appropriate popup to enter your notes and mark the task as complete. This in turn updates your personal Scorecard statistics. For a Call Log, you will be prompted to schedule a follow-on call task which can be done with just a click. To get the full productivity benefits of Call Manager, you should always complete and add new call tasks in this way and as far as possible follow the Calls Today call queue order.